

Building an Expedition First Aid Kit
Building a first aid kit for an expedition takes me a bit of time. There are, of course, a variety of facets to consider. I take into consideration Group size, duration, isolation, and types of hazards. Or use each of these facets to determine the supplies I want with me.
I usually divide my first aid kits into packets for different types of medical issues. Categories and my Iceland first aid kit are tools, trauma, medical, emergency, and common (usually not in the actual kit).
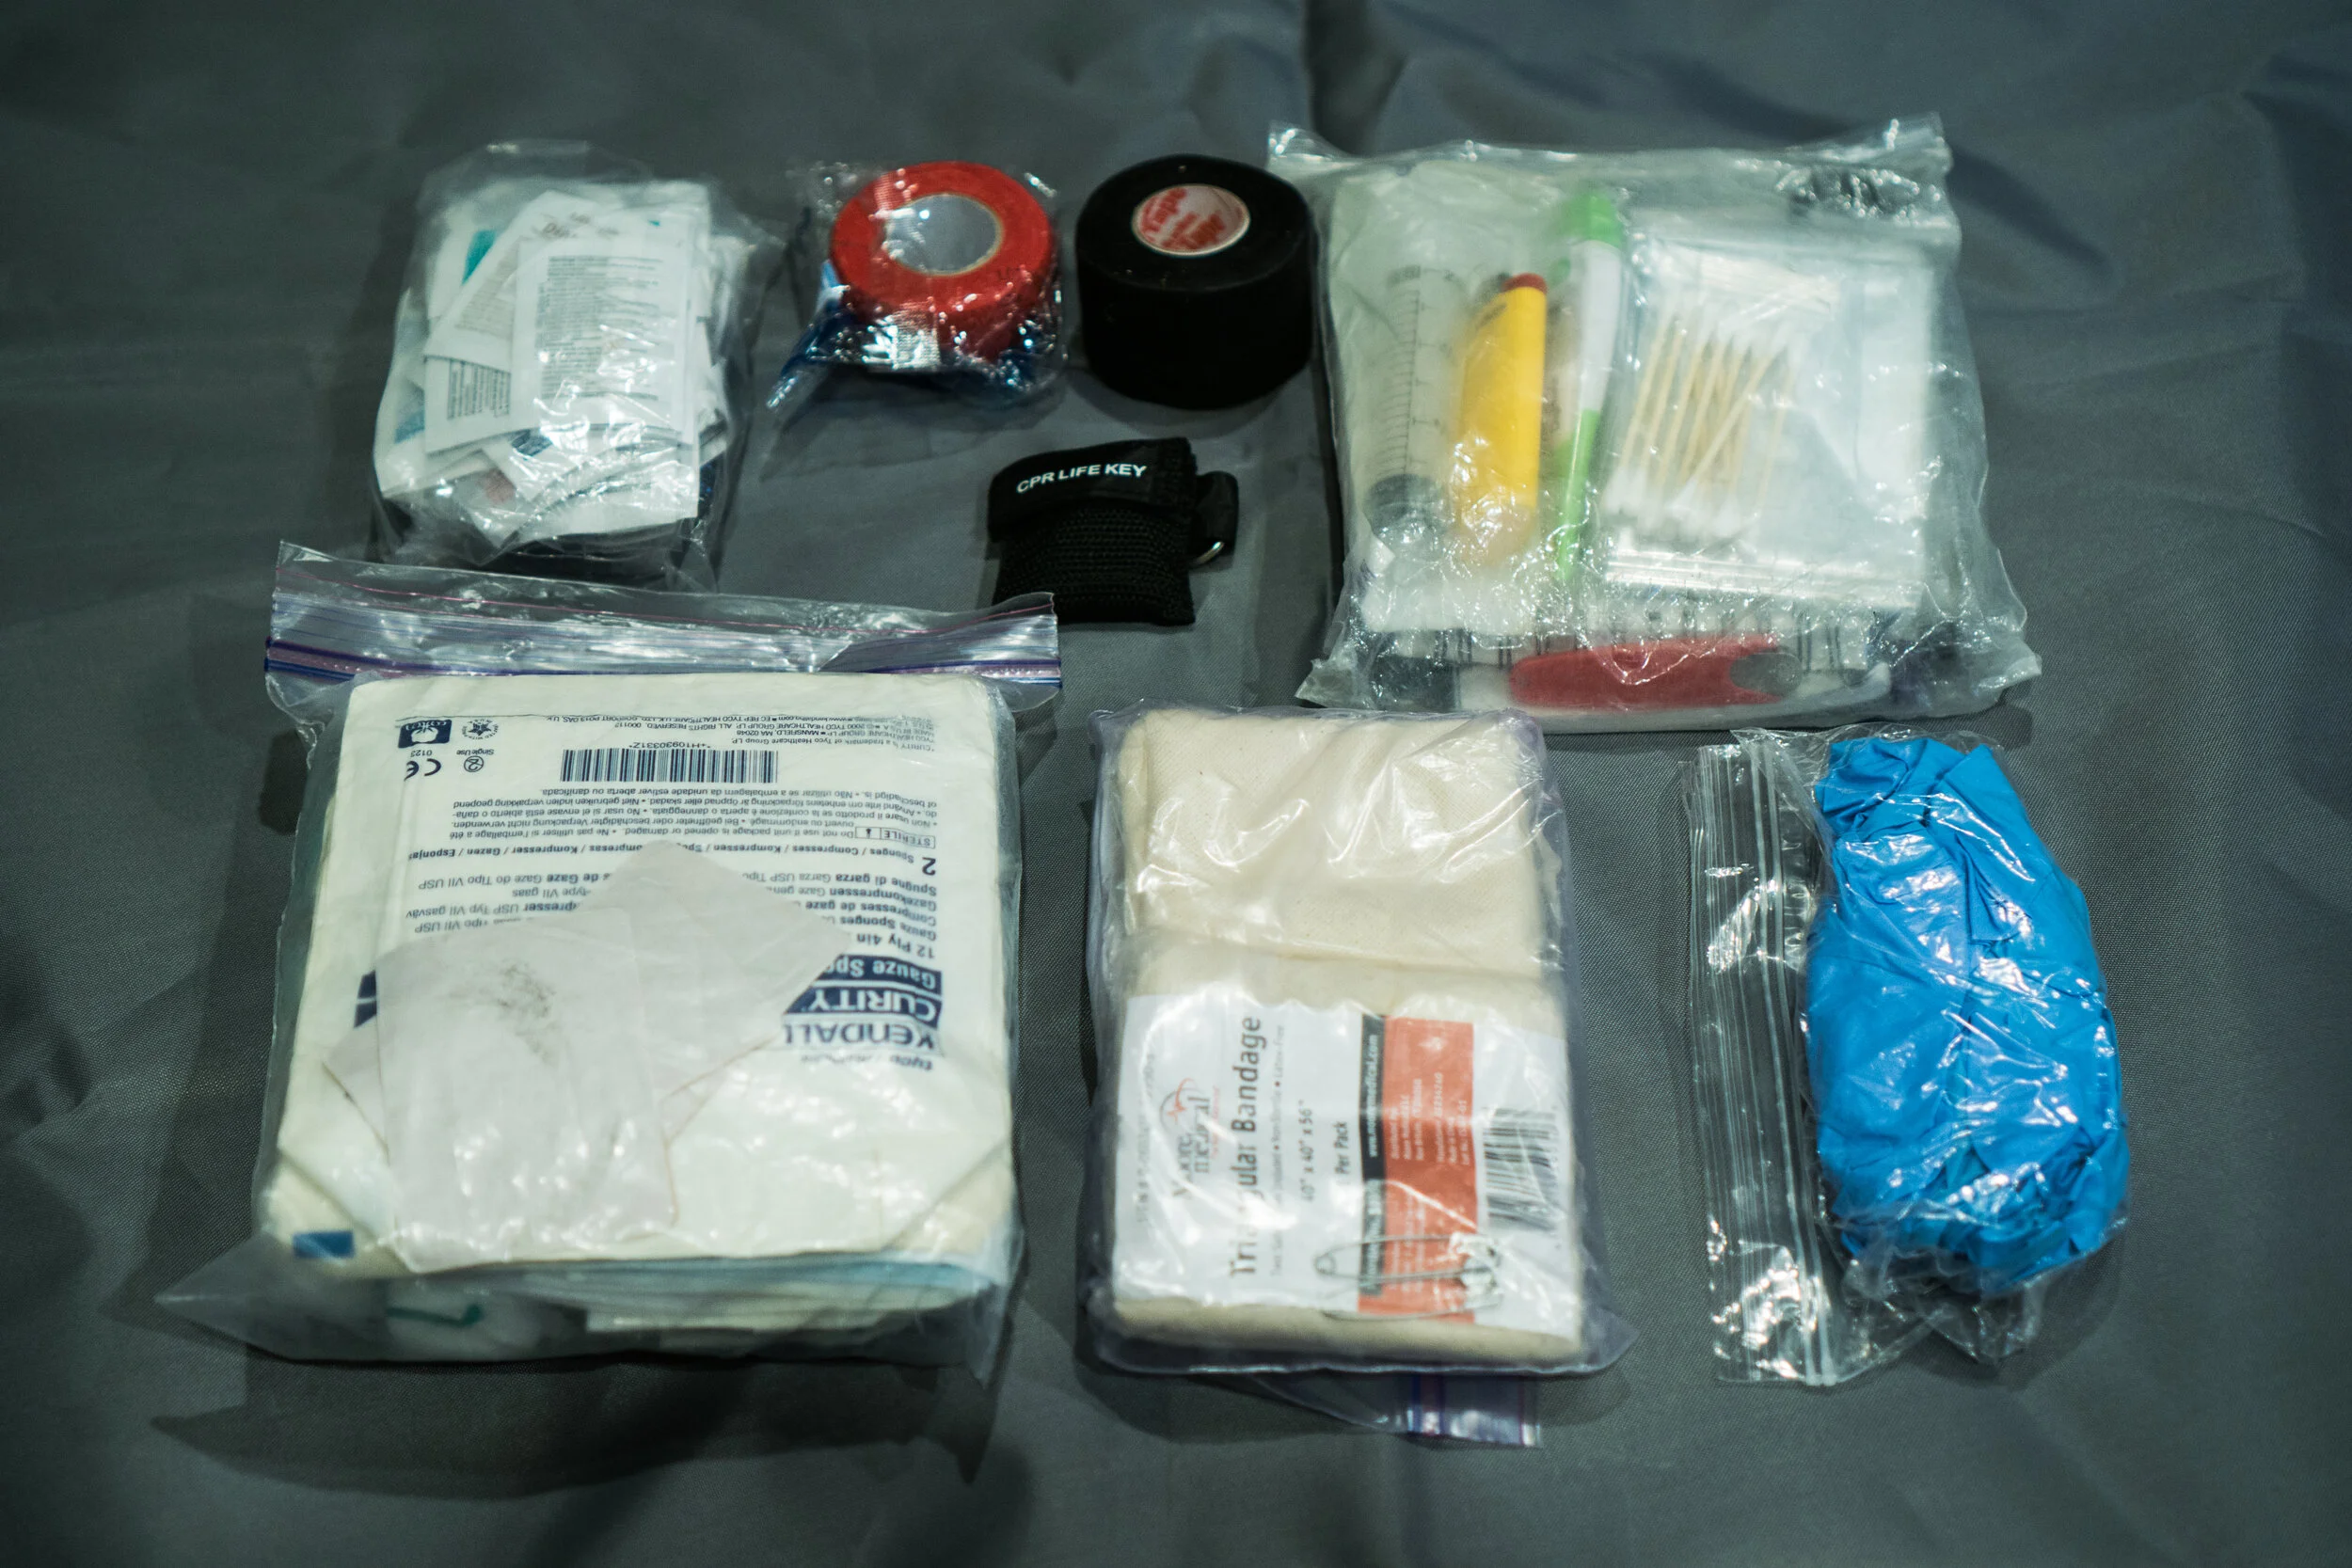
Group size and duration are typically what I use to determine how much of any one thing I plan to bring. For Iceland, I will be mostly solo, so I’m preparing for one person, and I’ll be in Iceland for 90 days. The kit I build is pretty small. But I know if I run out of anything, I can restock when I pass a town.
Isolation influences the scope of problems I want to be able to solve in the field. For example, on an expedition in Antarctica, help is far away, so serious injuries need to be stabilized in the field and managed for some days while help is on the way. Iceland, on the other hand, is a primarily coastal population with access to helicopters, roads, and boats that can reach most of the places that I will travel, so evacuations are much faster. However, it is still a good idea to be able to stabilize and manage some severe stuff in the field.

Last, I want to think about the types of hazards I will have to manage. In part, this becomes a bigger conversation about equipment as well, for example, bringing water purification. The supplies I bring specifically for the medkit are primarily geared toward the aftermath rather than the prevention. In the end, it comes down to two options an injury or illness that can be managed in the field or one that requires evacuation. A broken leg probably means evacuation. Little cuts, on the other hand, need to stay clean.
After considering Group size, duration, isolation, and the hazards, I then start to build my med kit categories. The tools usually stay pretty similar from kit to kit. On more isolated trips, I might add things like a larger irrigation syringe, a blood pressure cuff, or an O2 saturation sensor.


I try to over-the-counter medications. If it is a very remote trip, I might consider bringing antibiotics. I usually don’t take Advil or Tylenol often, so I don’t carry very much. When I’m traveling with people who like to use pain killers, I like to keep it stashed in the common supply area for things like medical tape, so we don’t have to dig through the medkit, and there’s always an emergency supply.

Building a medical kit from scratch is relatively inexpensive. Refill kits are pretty easy to find online. They are usually the same as a standard first aid kit without the fancy packaging (the expensive part). I divide it into the groups and stick them in a dry bag. Pre-made kits are high quality and super easy to use if you choose to go that route. They often have recommendations for group size and trip duration. I recommend Adventure Medical Kits. They are always well thought out and well-tailored to many different activities like hunting, ultralight, boating, and travel, to name a few.

Medkit reminders
The best thing for any injury or illness is prevention. Managing actual risk does not always match the perceived risk. Camp stoves, for example, cause all kinds of injuries but are often treated very casually.
A medkit is never a replacement for medical training. A first aid kit is only a tool and is useless unless you know how to use it. Additionally, recognizing the early signs and symptoms of a medical issue can help to avoid serious problems. I would recommend at least taking a wilderness first aid class, or even better, a wilderness first responder course. They are expensive but well worth the money.
As always, let me know if you have any questions.

Fiberglass Repair
Sometimes when you are surfing the snot out of big ocean waves in a fiberglass boat thing break. Here step by step instructions on how to fix a crack in you a kayak.
Sometimes when you are surfing the snot out of big ocean waves in a fiberglass kayak, things break. Last weekend, I broke the seat in my NDK Pilgrim. I am going to pretend I am just stronger than the fiberglass, but whatever the real reason I needed to fix it.
The two cracks down each side made for a slightly technical fix, but fiberglass repairs are all pretty similar. For the seat I worry more about strength and comfort than appearance, but I still like things to look nice, so I took it home to fix rather than doing a field repair.


First, I removed the seat from the boat. I think it is always a good idea to get as much access to the break as possible without causing any more damage. Prep work will take the most time, but it pays off in the end.

Then I used a dental tool to dig out any loose fragments. These are not adding any strength, and can cause more problems farther down the road if they are left in place.
After all of the loose fragments are picked away this is where the real assessment of the damage happens. In my case, the break was from edge all the way down. So, I want to both replace the glass that broke and reinforce the entire seat so it dies not happen again.

I sanded down the cracks and so the glass can lay flat. For a hole or crack that goes all the way through the fiberglass, it is best to work on one side at a time while securing the other so it does not get warped. you can secure it by fuzing it with resin. For these fixes it is also best to sand half way through fiberglass on each side as you work so the new resin will fuse into one piece. Fully cured resin does not bond as strong with new resin as curing resin bonds to its self. (If you are only missing a chunk, only sand as deep as you need to in order to make the glass lay flat.)

Gel coat is a UV stable resin, but it is not reinforced with fibers. It is best to put glass on glass rather than glass on gelcoat in most cases. (A keel strip may be an exception.)
Deciding how thick to layer the glass is tricky. You can find strength formulas and really nerd out about breaking force, but it’s probably not a big deal. At the end of the day we are not taking our kayaks to space. I usually estimate the thickness of the rest of that area of the boat match it and add a bit extra.
In this fix I wanted to make it much stronger, so multiple layers of 6 oz cloth and 2 layers of some 2 oz cloth I had left over from another project. A 2 inch roll od 6 oz fabric is a pretty common in a small pre-assembled repair kit.
After sanding the area, wipe the surface with acetone to remove all excess dust and moisture. The surface needs to be clean and dry before applying glass. Premeasure and cut the glass cloth so it is ready to use. Some people recommend pre-saturating the cloth before applying it to the surface. I prefer to paint a thin layer of resin on to the surface being repaired. Then placing the dry cloth and saturating it in place. I make less of a mess. Be careful not to move the cloth as you apply the resin.


I prefer to use resin instead of epoxy in my repairs. Epoxy is supposed to bind better to a surface, but it takes much longer to harden and I don’t find it works as well for me. There are two main types of resin, polyester and vinyl ester. Vinyl ester is typically stronger, and less likely to absorb moisture, but realistically other factors are more important.
Resins do not fully cure when they are exposed to the air, so the last layer needs to have wax mixed in. Some resins are premixed. These are usually called surface resin. Laminating resin does not have pre-mixed wax. This is because wax reduces the strength. If you do not have surface agent (wax), you can spray a mold release over the area instead, but it must be cleaned off after.
The step many people mess up is mixing the catalyst into the resin. There are tables for the optimal mix for different temperatures, but for most reliable mix bring everything into the same climate controlled ish area and let it all balance out to the same temperature, ideally around 60 Fahrenheit. When stirring the catalyst into the resin, be sure to mix it fully, scraping the sides bottom and corners of the container. If it is not fully mixed the resin will never fully harden. Don’t mix to much either. It can kick before you finish applying it to the surface.
Lightly sanding between coats can help make a clean finish.
Applying the gelcoat should be applied in multiple thin layers. Spraying the gelcoat will make the smoothest finish, but paint brushes and rollers work too. When sanding the final coats, be carful not to sand all the way through the old gel coat when leveling it out. Repairs will likely not look like they just came out of a mold. My repair, I had black gel coat but no green, so I painted a larger area for a new look. i forgot to take a picture of the final coat, but part way through.

I hope this is helpful for your future glass work. If you are looking to try your first fiberglass repair, try to find someone who has done it before to help you. It is great to talk through all of the materials you will need with someone when you are buying the supplies. If you have questions let me know!
Now it is time to get back on the water!

Staying Dry all Season
Stay dry! with some drysuit maintenance tips sure to make your gaskets, zippers, and fabric last.

Staying Dry All Season
Drysuit Maintenance
Drysuits are an investment you will want to last.
To get the most out of your money, take care of all three components, those being: gaskets, zippers, and fabric.
Gaskets;
Gaskets are going to be the first thing to go almost certainly. They can be replaced pretty easily with a form, but with some care, they can last a couple of seasons.
Some things are bad for the rubber, like UV damage, sunscreen, jewelry, watches, fingernails, and overstretching.
Avoid sunscreen on the gasket, and keep them covered whenever possible. Avoid pushing your hands or head through a gasket with watches, rings, or your crown on.
Cracks may form when the gasket is getting tired. Silicon rubber conditioner can get some extra miles out of the gasket, but the cracked edges of the gasket can also be carefully trimmed with sharp scissors.

This is a Dried Out Latex Gasket
Zippers:
There are plastic and metal zippers, but there isn’t make much of a difference when caring for them. Zipper wax is a thing. Use it whenever there is whenever the doesn’t glide well. It’s also a good idea to clean the teeth from time to time. This will prevent the zipper pull from wearing out as fast.
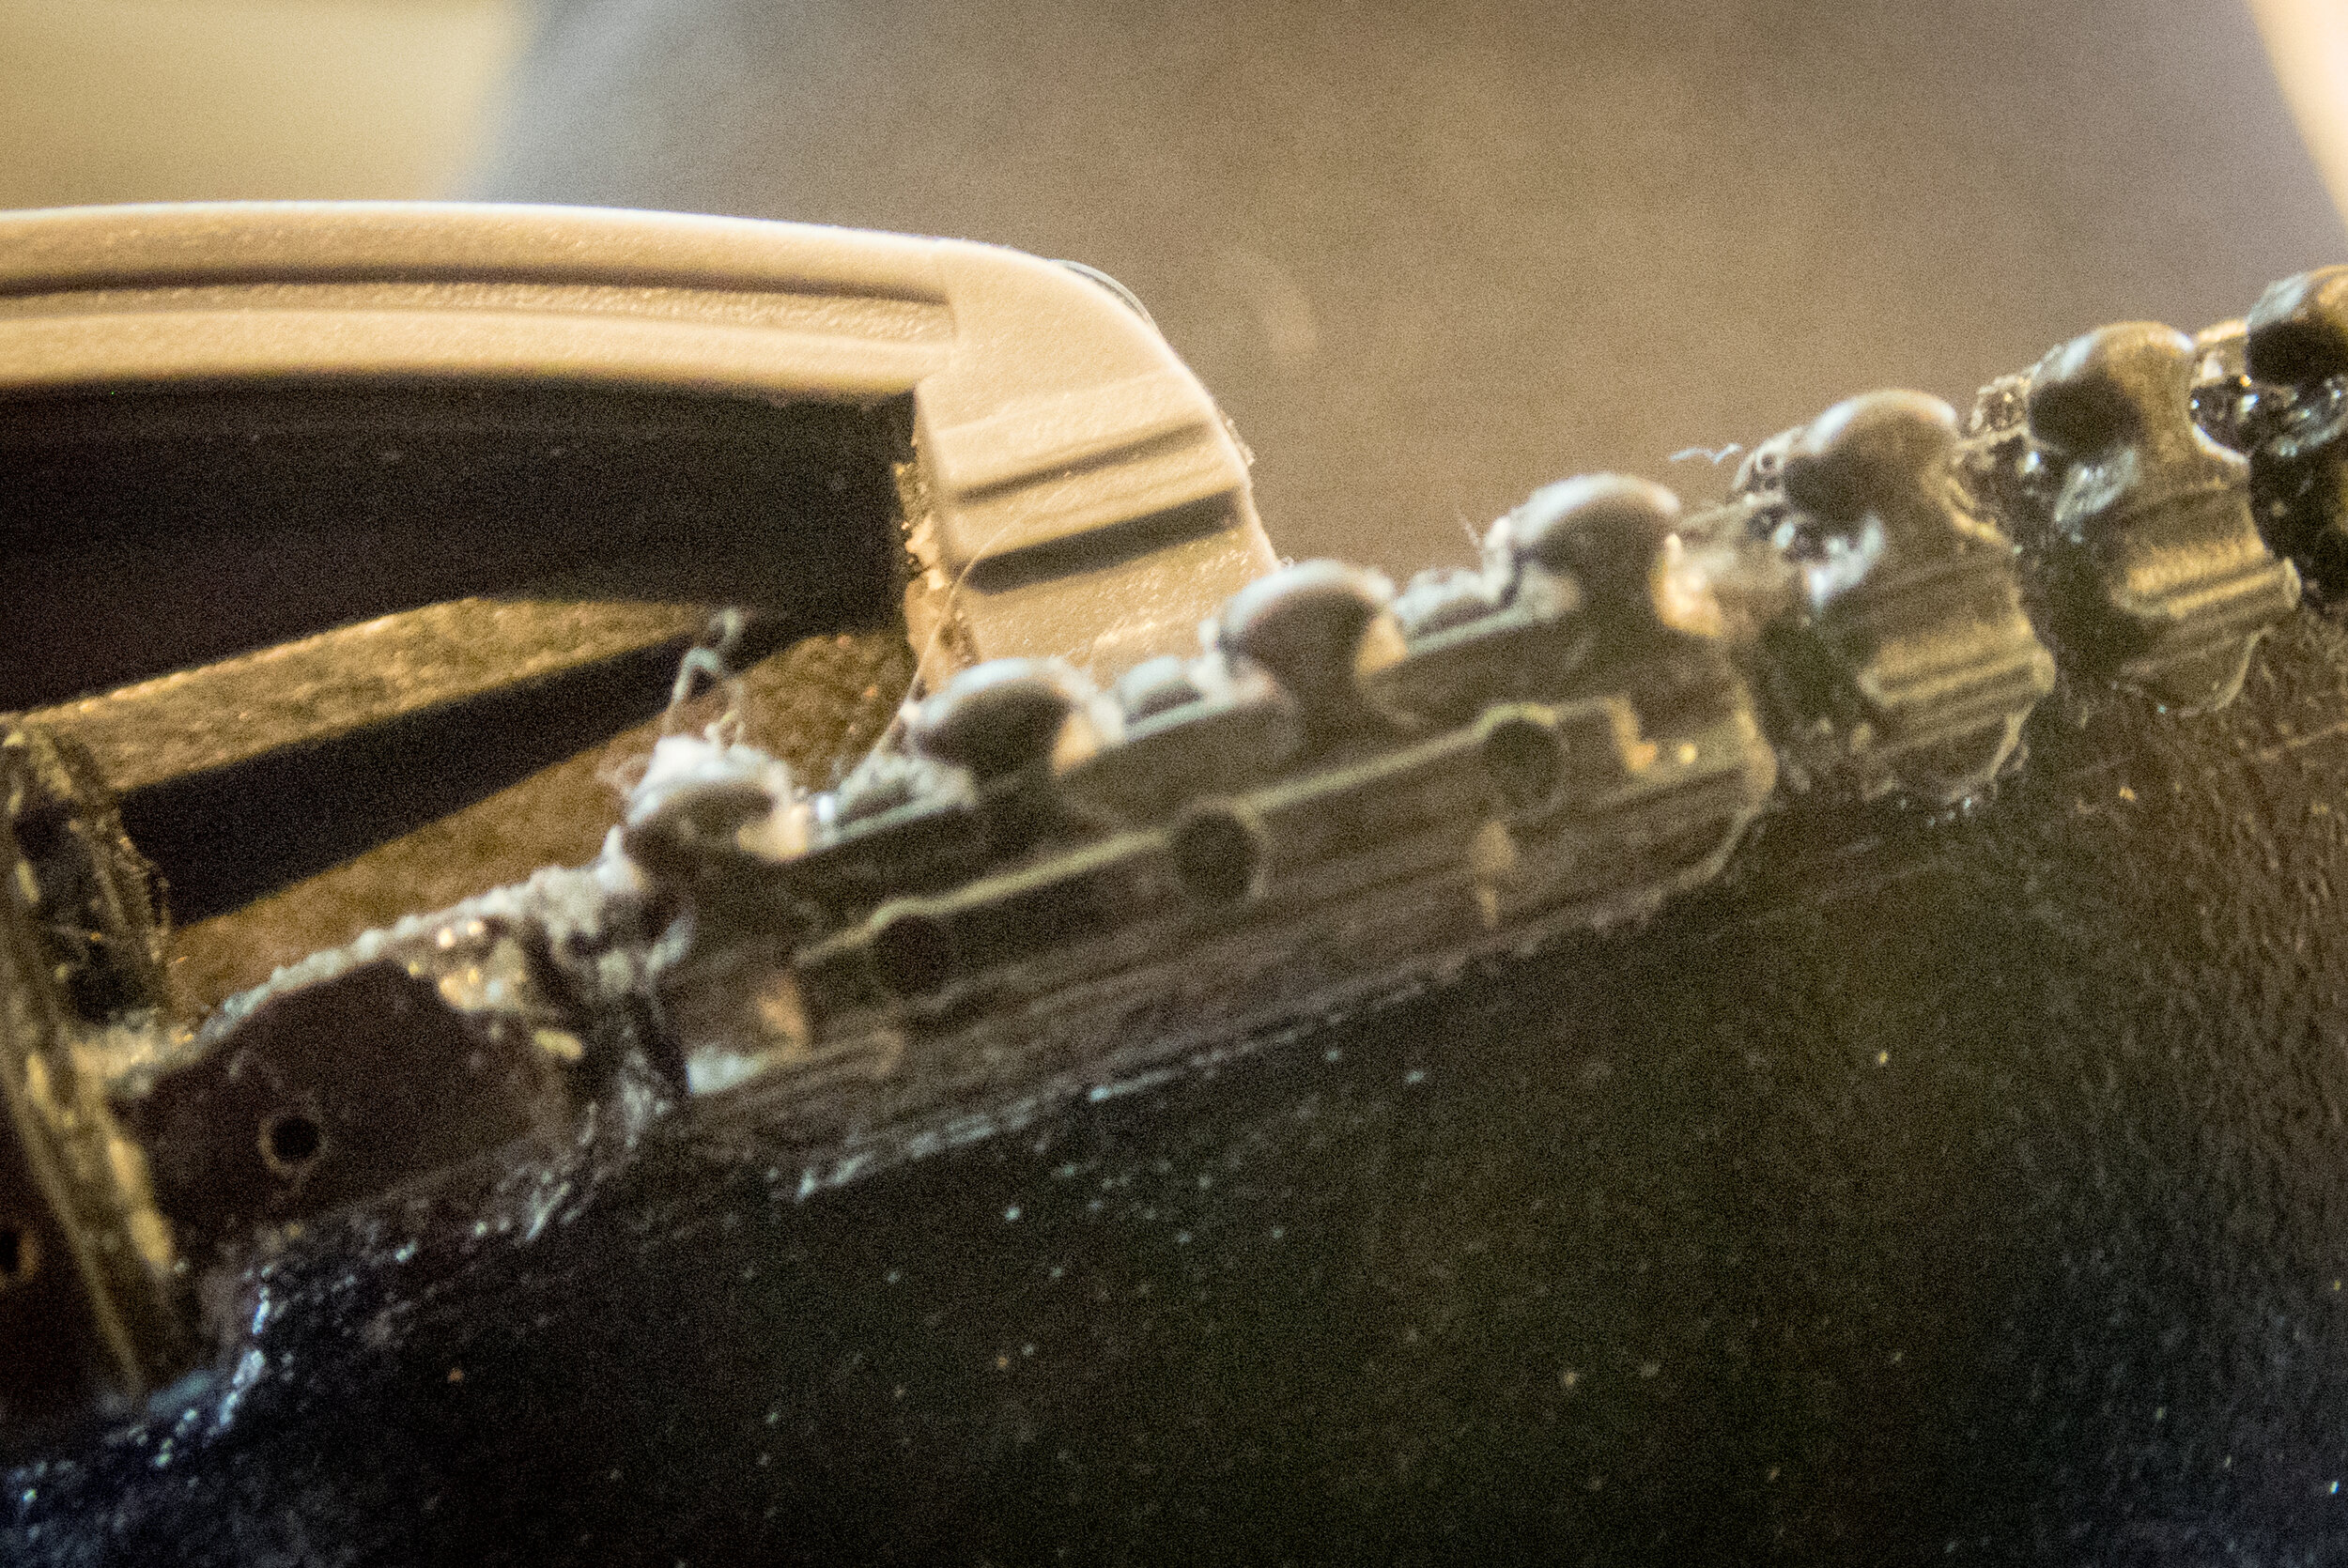
Look at the Build Up in the Zipper Teeth
Fabric:
There are some heavy use areas of the fabric that will always take the beating first, but some strategies will help prevent damage.
Socks are going to get holes, I guarantee it. Rocks and sand get into shoes and wear holes. They will last much longer with high top shoes that do not have much mesh. Sand and rocks will be the enemy of any fabrics you want to be waterproof.
UV damage is also going to fade suits. Sprays can help protect the fabric, but simple things like keeping them out of the sun to dry. But it is always better to have a dry drysuit than a wet drysuit when it goes into storage.
One of the best ways to keep the suit happy is to rinse them after use, especially saltwater. Washing the suit is a good idea, but I tend to hand wash with a soap made for drysuits. If you do decide to machine wash, do not run the spin cycle. A dry suit full of water spun can damage the suit or even the washer.

Threads I Need to Trim
McNett is my go too for maintenance products, but I am sure other products are just as good. For product-specific questions or more detail, manufactures often have tons of helpful information.

I Recommend These Products
Happy Paddling!